Getting Started
This brief guide shows how to setup PHONK and goes through a step-by-step example. It will take around 10-15 mins to complete it.
Installation
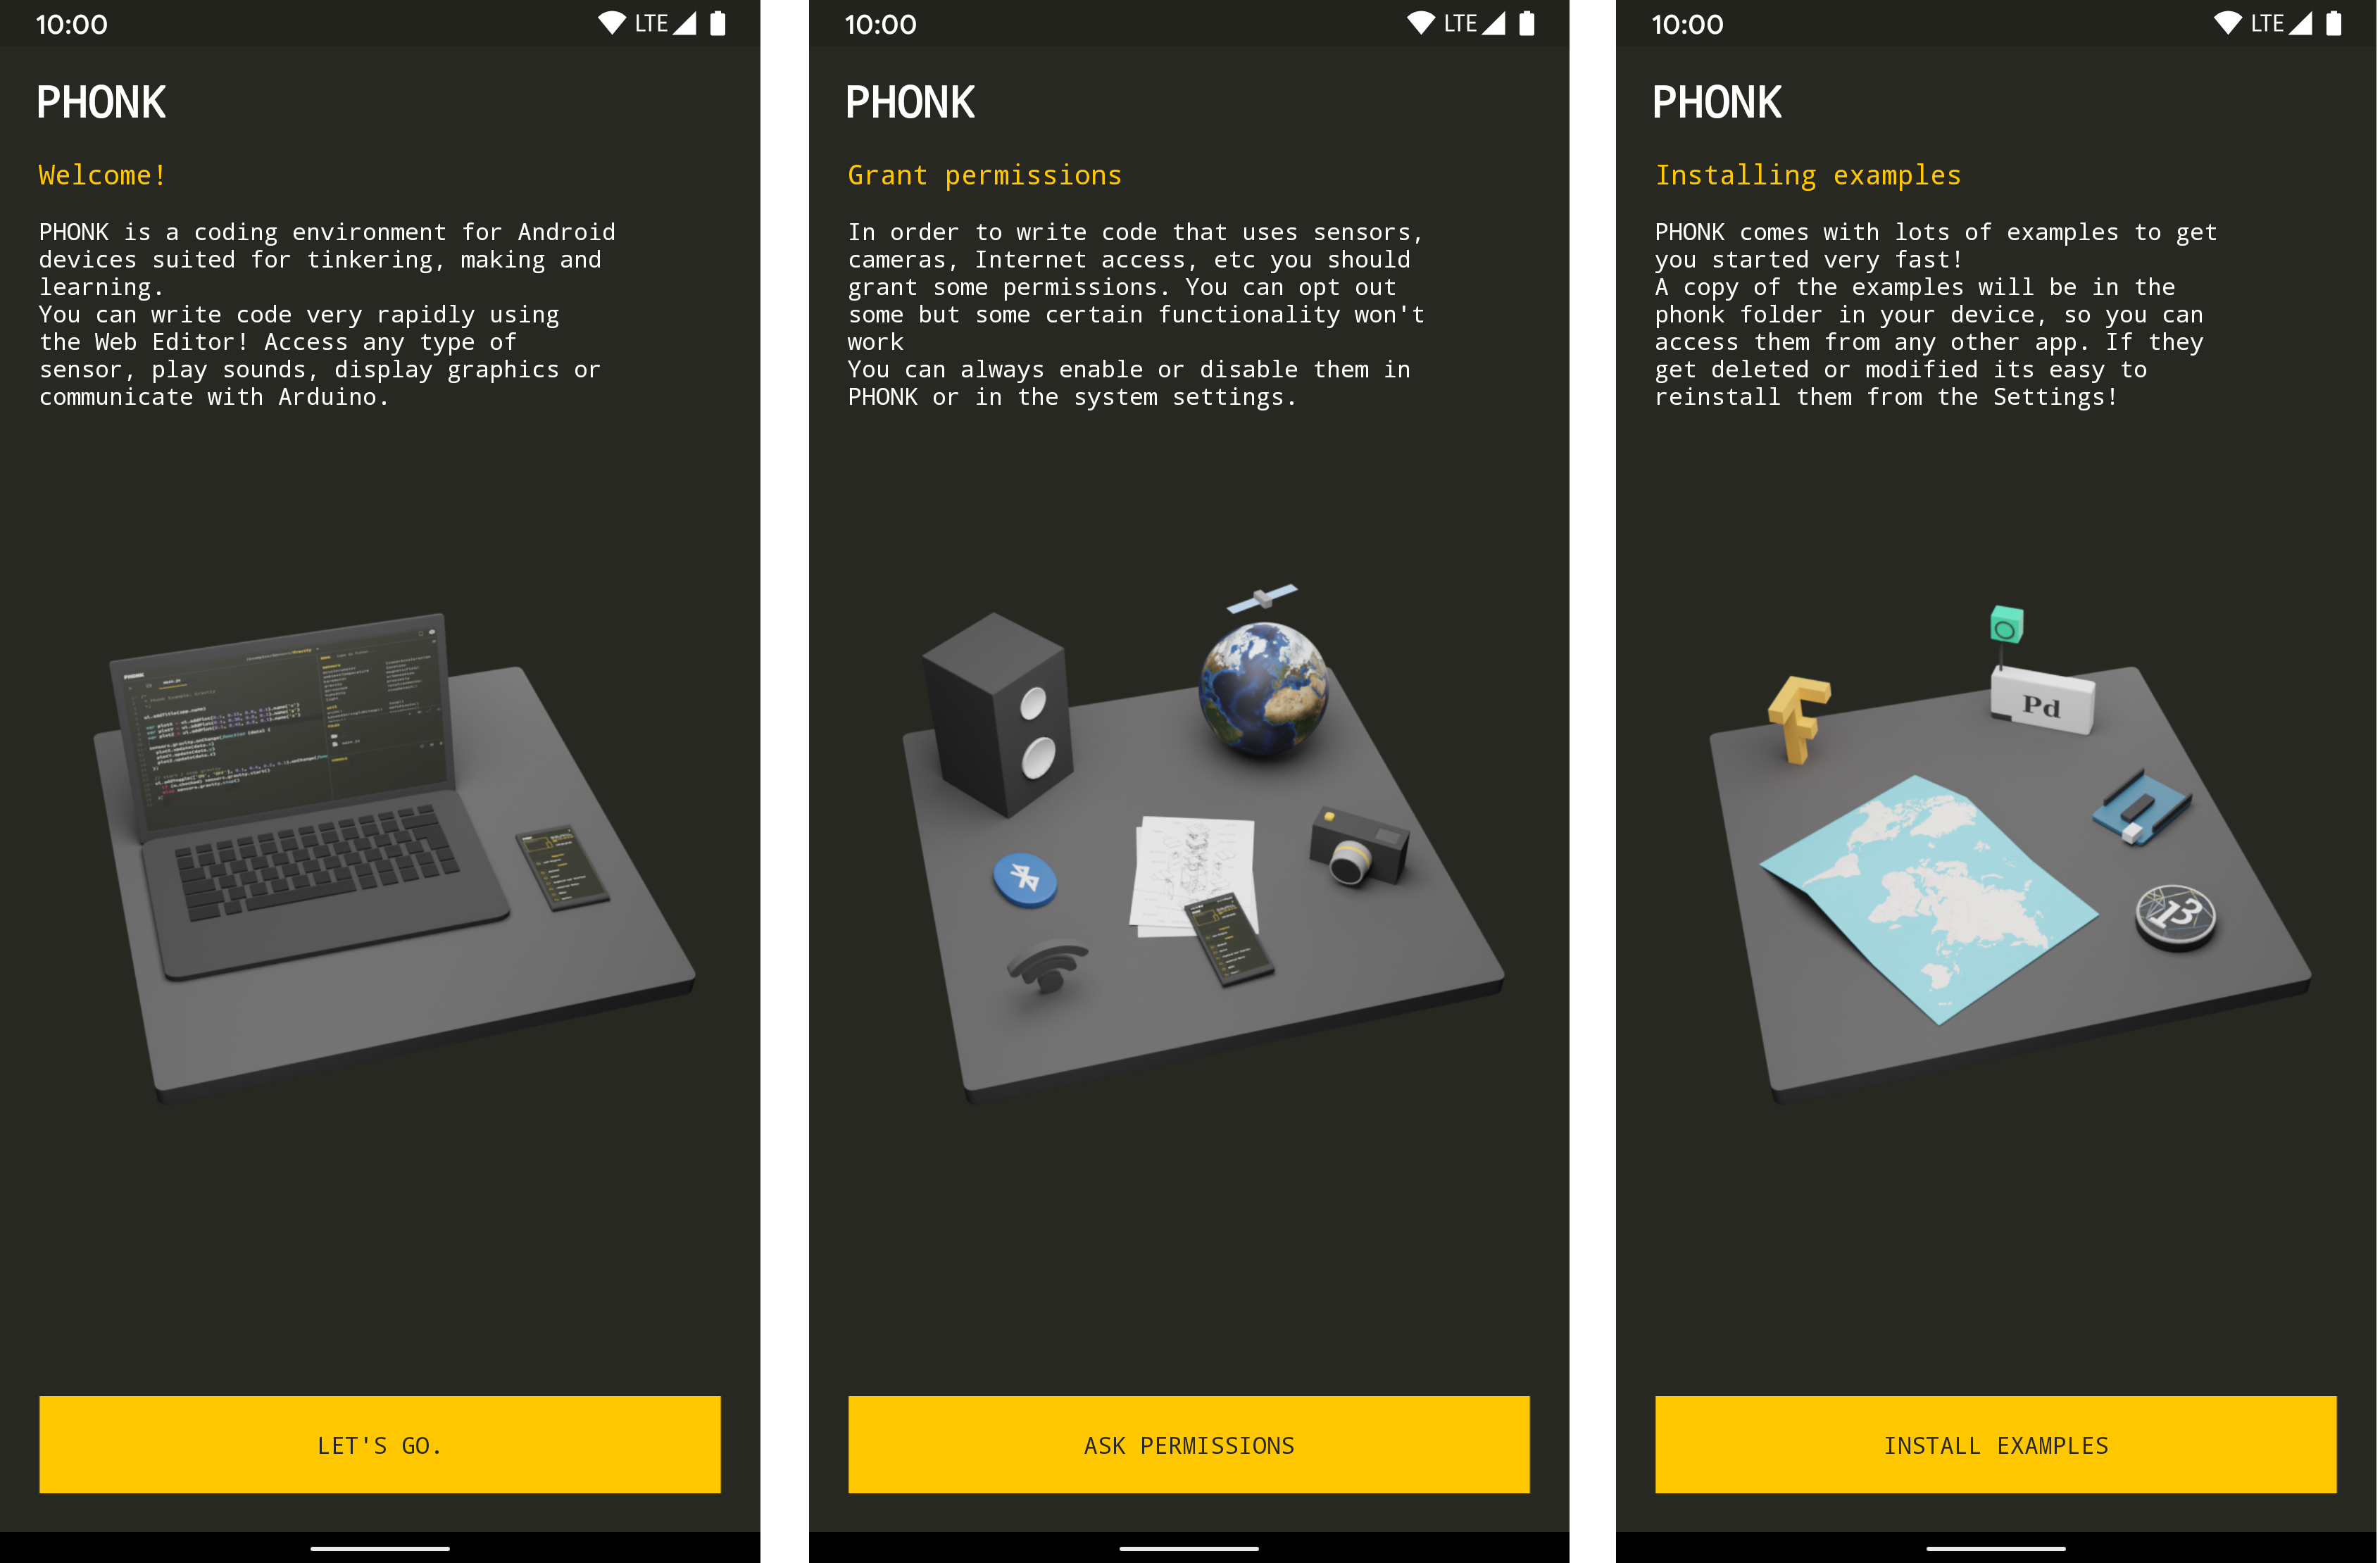
Grab your Android device and install PHONK from any of the sources. Once installed, you will have to
-
Grant certain permissions to PHONK so you can create programs that can do cool stuff with the Camera, sensors, internet, etc*.
-
Install de Examples. PHONK copies the examples to a part of your device memory that can be visible by other apps. This is nice since it makes it very easy to backup your projects or edit them with other apps.

* PHONK respects your device and privacy. PHONK does NOT send information to the internet and does NOT use any type of analytics to track how you use the app.
Next: Exploring the examples >Note: If you are updating to a newer version, sometimes you will get a screen asking you to update the examples 🙂