First run
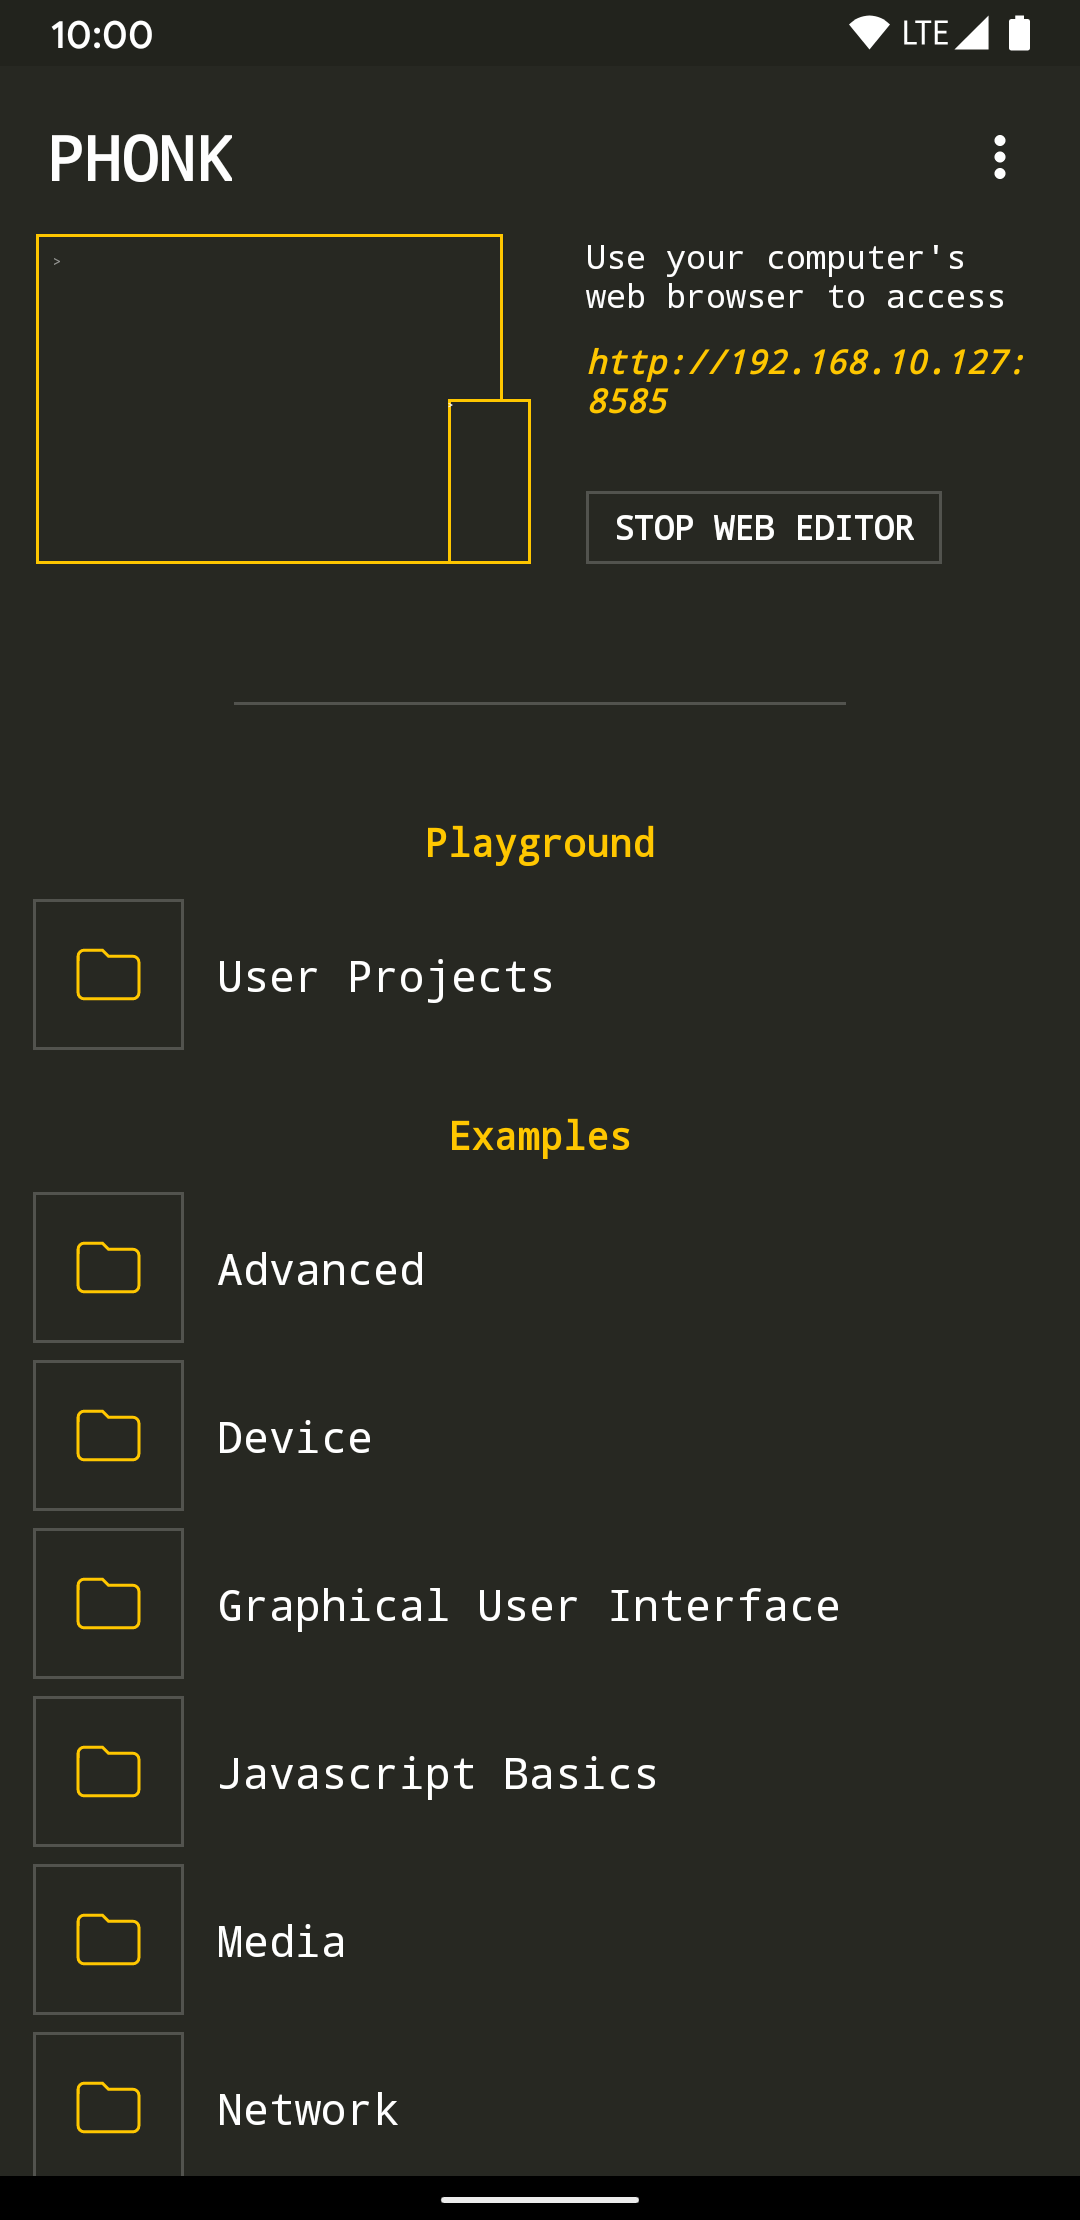
When you open PHONK you will see a screen like the one below. On the top part, there is an INFO area that shows things like when you launch an app or the IP address of your device, so you can create scripts easily from your main computer. The bottom part is a standard navigation view where you can navigate through the built-in examples and your projects.
Let's open a couple of examples in the next sections.

Opening and Editing an Example on your Android device (Sound Record)
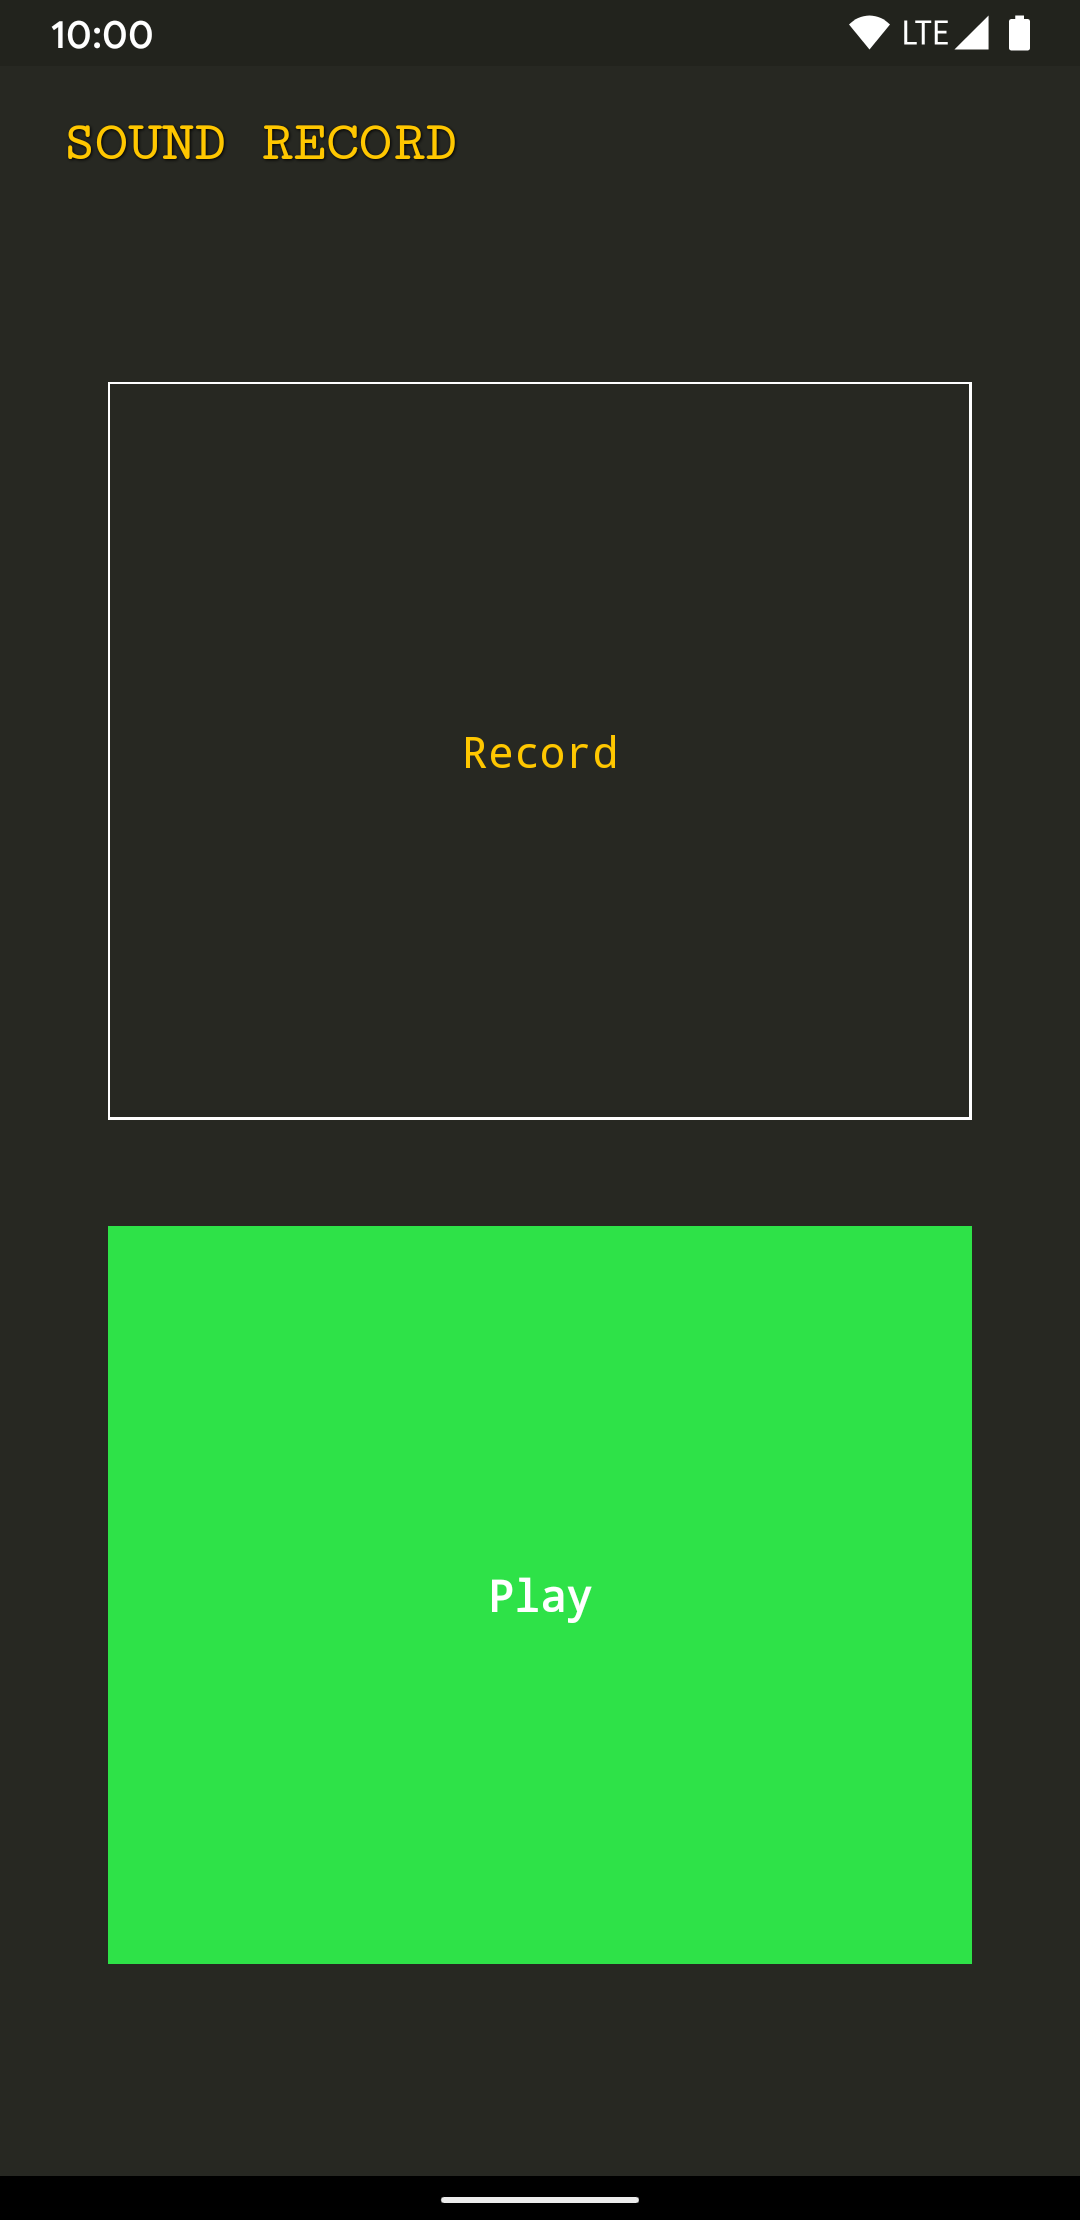
Navigate to Sound → Record Voice and tap on it so it will launch the script. You should see a screen like this that invites you to click on the top toggle button to record sound and click on the green button to play it back.

Nice! Let's see how it is made.
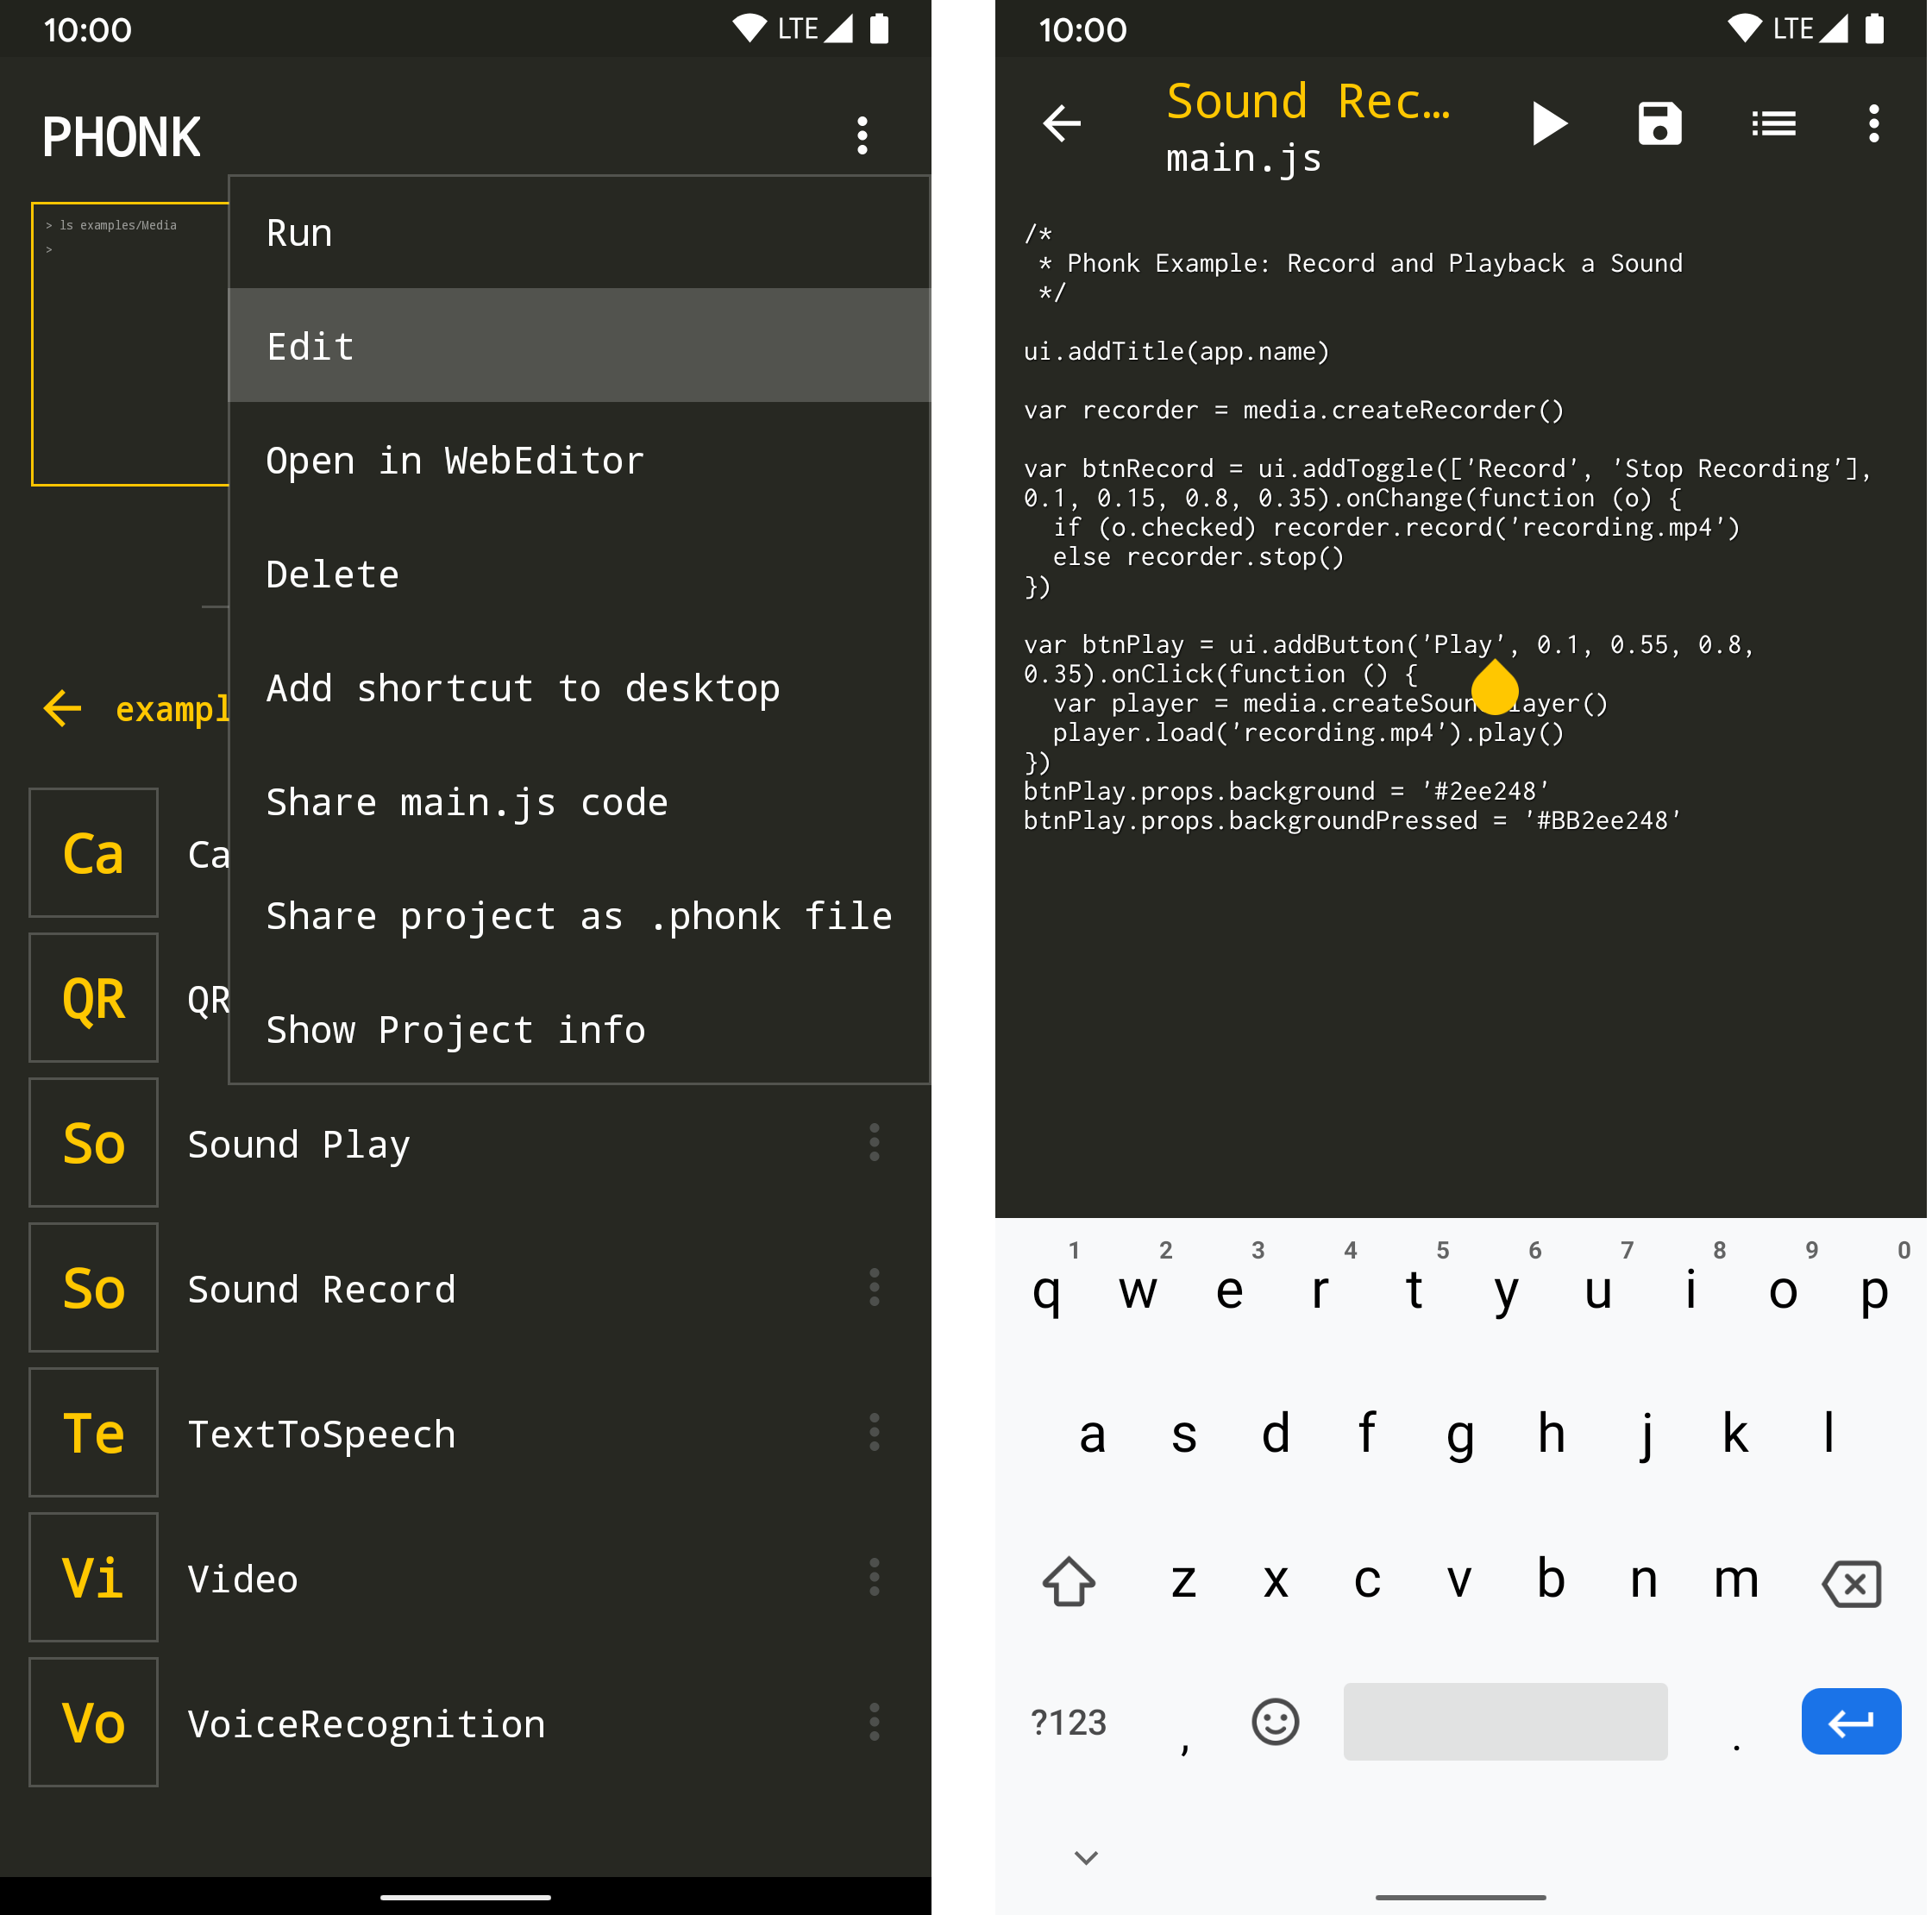
Exit the script by pressing back on the bottom bar or doing the back gesture on newer Android devices. Go again to Sound → Sound Record but this time click on the three dots and click on Edit to see the source code. Then move to the line where it says 'Record' and change the word to 'Record your voice'. Maybe you want to comment out the first line of code as follows // ui.addTitle(app.name) so we remove the title. Press on the Save icon and then Play.
Voilà! You have your first script modified! The source code is pretty straight forward but we are not going to go through the code yet! I invite you thought to make sense of it :)

Opening and Editing and Example using the Web Editor
Now we are going to do something similar as before but using the remote Editor.
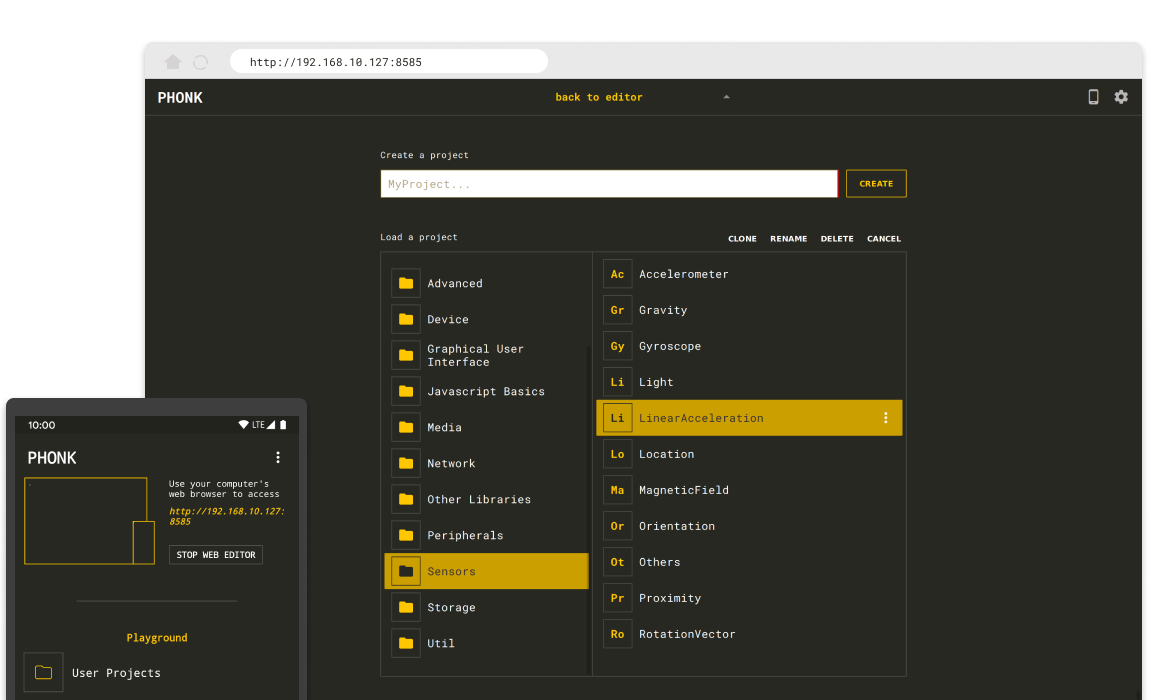
The first thing we need is to make sure that we have a computer with a modern web browser installed. Then connect the Android device and the computer to the same Wifi network. If you do so, PHONK will show an IP address on the INFO area. Now make sure that the button Enable Web Editor is highlighted.

Type the IP on the computer web browser and press enter. If everything went well, you should see an interface showing the same Examples as your phone. Let's open the example Sensors → Accelerometer.
You can see the code on your web browser. If you click on the Play button, the script should rapidly appear on the Android device. Press ON and start shaking your Android device. You will see the accelerometer values changing as you move your device! Press stop on the Web Editor to stop the script running and let's edit the code. Right after line 14, insert the line console.log(data.x)

Press play again on the Web Editor. Now you should see the accelerometer's X values on the console area, in the bottom right side of the Web Editor.
This is very handy to debug data, but don't overuse it otherwise you might freeze the tab sometimes... 😉
Next: Create your first project >